Transfer Tape — Which Tack, and Why It Fights You
Transfer tape has to grip harder than the mat and less than the surface. Every failure is that balance going wrong in one of two directions.
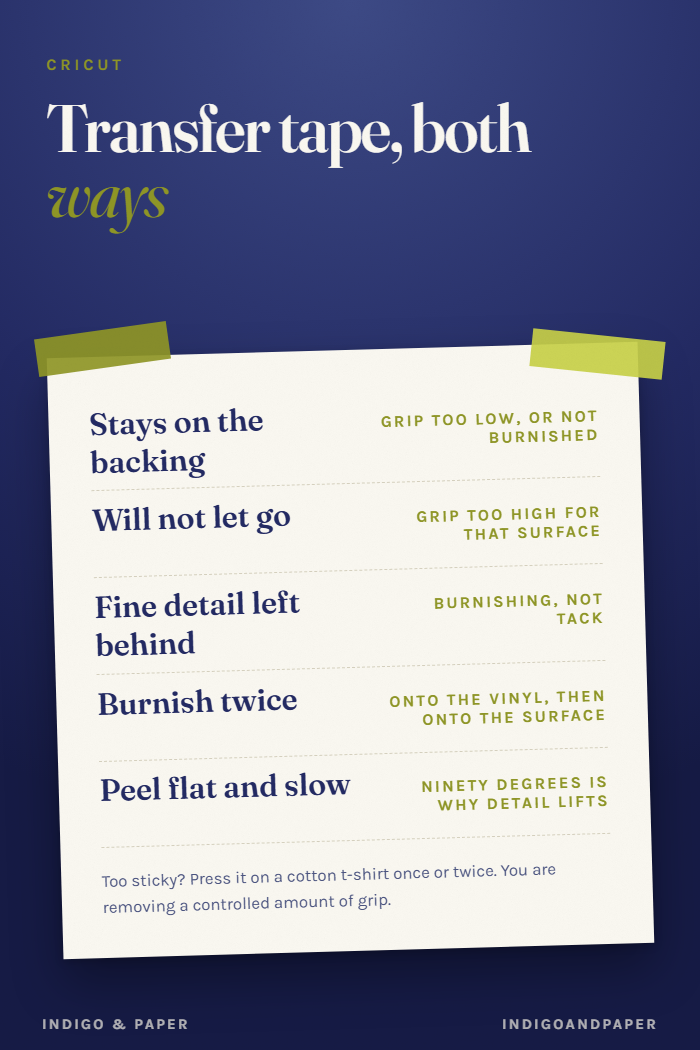
Transfer tape sits in the middle of a tug of war. It has to pull vinyl off the backing paper — so it must grip harder than the backing — and then hand it over to the final surface, so it must grip less than that surface does.
Every transfer failure is that balance going wrong in one of two directions, and knowing which one you have tells you exactly what to change.
Which direction is your failure?
Vinyl stays on the backing when you lift — the tape is not tacky enough for this vinyl, or it was not burnished properly. Grip too low.
Vinyl comes up, then will not let go onto the surface — grip too high, or the receiving surface is not ready for it.
Small pieces come but fine detail stays behind — almost always burnishing rather than tack. Thin strokes have very little area to hold.
Tape lifts the vinyl back off after you have laid it down — grip too high, and usually a peel angle problem too.
Tack grades
Standard tack is right for regular adhesive vinyl and is where to start.
Strong tack is for glitter, holographic and textured vinyl, whose rough surface gives standard tape very little to hold. It will happily over-grip smooth vinyl and refuse to release it.
Low tack exists for delicate materials and for wall vinyl, which needs the tape to give up easily onto a painted surface it must not damage.
Paper transfer tape is a distinct thing: cheaper, no visibility through it, and generally grippier. Clear tape is what most people want, because you can see alignment.
Burnishing is not optional, and it is done twice
Most "the tape is bad" complaints are a missing burnish.
Once onto the vinyl. Scraper flat, firm pressure, whole design, both directions. You are pushing the adhesive into contact, not smoothing bubbles.
Once onto the surface. Same again after positioning, and pay attention to the edges and any fine strokes, which get the least pressure from a scraper moving across the middle.
A credit card works. A proper scraper works better because you can lean on it.
Peel at an angle, slowly, and stop if it lifts
Both peels — off the backing, and off the surface — want the tape folded back against itself at as flat an angle as you can manage, pulled slowly.
Peeling upward at ninety degrees puts the force in exactly the wrong direction and is the commonest reason fine detail lifts.
If something starts to come away with the tape, stop, lay it back down, burnish that area again, and resume from a different corner. Fighting through it is how a design tears.
When the tape is too sticky
De-tack it deliberately rather than buying another roll: press it onto a clean cotton t-shirt or your jeans once or twice. You are removing a controlled amount of grip, so do less than you think, and test on an offcut.
This is the standard fix for strong-tack tape on smooth vinyl, and for new tape that grabs harder than the roll you were used to.
Reuse it, up to a point
Transfer tape is reusable several times for small pieces. It loses tack as it picks up dust and fibres, which is fine and gradual — keep the backing sheet and put it back on between uses.
If nothing sticks to the surface at all
Then the transfer is not the problem. Adhesive vinyl fails on some surfaces for reasons no tape can fix, and each surface fails differently — wood is porosity, glass is contamination, and some plastics simply will not take it.
And if the design fell apart during weeding, before any tape was involved, that is a cut or a font problem rather than an adhesion one.